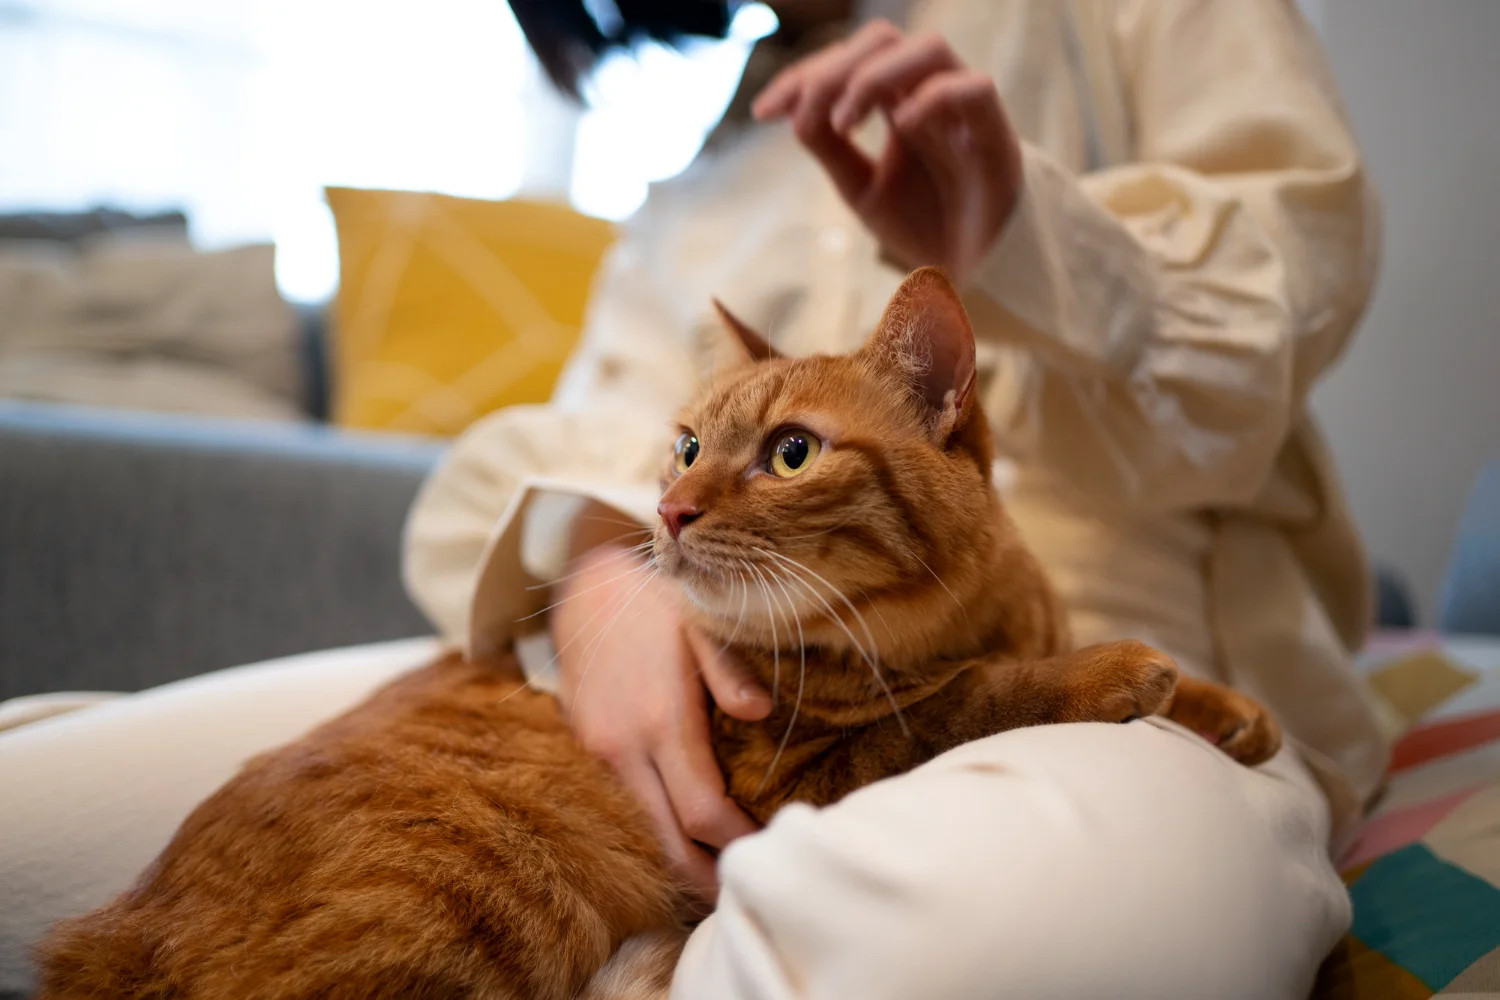
Keeping your cat’s ears clean is a simple but important way to support their health and happiness. Healthy, clean ears don’t just prevent discomfort—they help your cat feel their best and stay active. Imagine your feline friend free from the irritation of wax buildup or painful ear infections. Without the distractions of head shaking or constant scratching, your cat can focus on what they do best: exploring, playing, and snuggling with you!
Ear care also keeps your cat’s hearing sharp, letting them stay alert to their surroundings (and the sound of their favorite treat bag). Plus, regular checks can catch early signs of issues like infections or ear mites, sparing your cat from unnecessary pain. By making ear cleaning a part of your routine, you’re not only preventing problems but also showing your furry companion some extra love and care.
Ready to learn how? In this guide, we’ll walk you through simple, safe steps to clean your cat’s ears and keep them feeling great!
Why Is It Important to Clean Your Cat’s Ears?
Cats usually are good groomers, but their ears may need a little more attention, especially if they get frequent ear infections or have an excessive amount of wax. Cleaning their ears regularly can:
- Prevent bacterial and yeast ear infection : infections can cause pain and hearing loss if left untreated.
- Reduce problems with ear mites, which can cause itching and lead to other infections.
- Help identify early signs of health issues such as swelling, bad smells, or strange discharge, so treatment can be sought quickly.
Before you starts gather these essentials
- Cat-safe ear cleaner (you can find it at pet stores or from your vet). These cleaners are made to gently break down wax and dirt.
- Cotton balls or pads (do not use cotton swabs as they can hurt the ear canal). Cotton balls are soft and safe for cleaning the outside of the ear without causing harm.
- A towel to wrap your cat in, if necessary, to gently hold them. Wrapping your cat in a towel will help them remain calm and prevent any sudden jerky movements.
- Treats, to reward your cat’s good behavior. Rewarding them will make the next cleanings easier.
- Pro Tip: Do not use alcohol or hydrogen peroxide, as these can further irritate your cat’s sensitive ear skin and might slow healing if the skin has been damaged.
Step-by-Step Guide to Cleaning Your Cat’s Ears
- Prepare Your Cat and the Area
Pick a quiet, comfortable location with few distractions. Make sure all supplies are within easy reach, and your cat is comfortable. Wrap your cat in a towel if they’re squirmy to gently restrain them. This will also stop them from scratching you. Use a soothing tone of voice to calm them down. You can also gently pet them to make the environment comfortable for them.
- Look in Your Cat’s Ears
Before you start cleaning, take a good look in your cat’s ears: healthy ears should be pink, clean, and odor-free. Look for signs of infection, such as redness, swelling, discharge, or a foul odor. If you find any of these symptoms, it could indicate an infection or other problems requiring professional veterinary attention.
- Use the Ear Cleaner
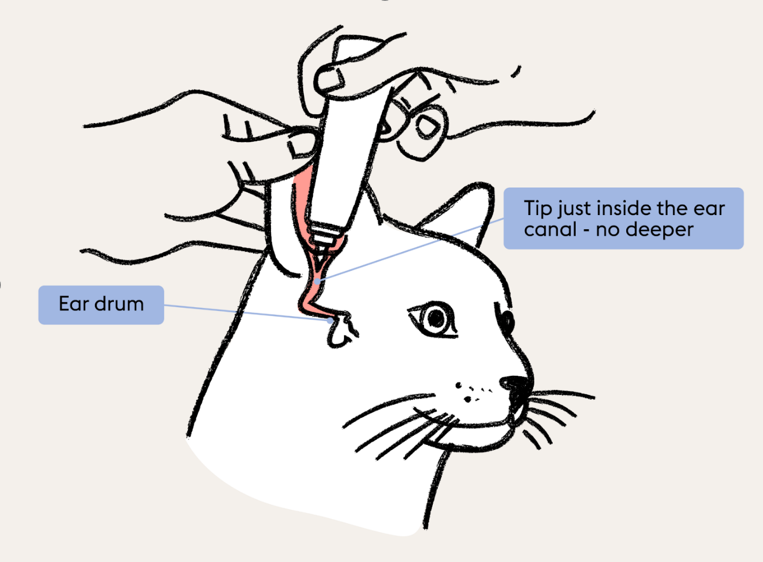
Hold your cat’s ear flap gently but firmly. Make sure you have a good grip without hurting the cat. Put a few drops of the ear cleaner that is safe for cats into the ear canal. Use just enough to fill the canal but not to spill over. Do not put the bottle tip in too deep to avoid hurting sensitive tissues.
- Rub the base of the ear.
Gently rub the cleaner into the bottom of your cat’s ear for about 30 seconds. This spreads the cleaner and helps break up any dirt or wax. You may hear a squishing sound – this is normal and shows the cleaner is doing its job.
- Let Your Cat Shake
Let your cat shake their head to help get rid of the loosened dirt. Be prepared for some mess, and consider doing this in a location that is easy to clean.
- Clean the Outer Ear
Use a cotton ball or pad to remove dirt and excess cleaner from the outer ear. Do not poke deeper than you can see to avoid harming the ear canal. Instead, clean what you can see visibly of the ear.
- Give Your Cat a Treat
Reward your cat with a treat or some extra love to provide support for good behavior. This makes them feel happy and work better next time with you.
How Often You Should Clean Your Cat’s Ears
The frequency of cleaning depends on your cat’s breed, health, and lifestyle:
Weekly: For breeds like Persians and Scottish Folds that are prone to having ear problems merely because of the way these cats’ ears are shaped.
Monthly: For most cats with normal ears. This schedule helps maintain cleanliness without causing irritation.
As Needed: If you notice wax buildup, dirt, or your cat scratching their ears more than usual.
Note: Over-cleaning can irritate your cat’s ears, so only clean them when necessary. Always observe your cat’s behavior and check for signs of discomfort.
When to See a Vet
If you see any of the following, talk to your veterinarian before you try to clean your cat’s ears:
- Persistent scratching or shaking of the head.
- Redness, swelling, or cuts in or around the ear.
- Bad-smelling discharge, which may indicate an infection.
- Black or brown dirt (which may indicate ear mites).
Early intervention can prevent more significant issues and ensure that your cat has healthy ears. Your veterinarian can also recommend any special treatments or cleaners if needed.
Visual Guide: Cleaning Your Cat’s Ears
By doing so, these practices will assure that you can keep the ears of your cat free of infections, and therefore free from discomfort. Regular grooming as well as early detection of the problems is very helpful in your cat’s life. Be patient and careful all the time for what you’re doing, and don’t hesitate to see the veterinarian for anything unclear related to the ear health of your pet.
Additional Resources
For more information on cat ear care, check out these resources:
- Preventing Ear Infections in Cats: Understand common symptoms and prevention tips
- Signs Your Cat Has Ear Mites: Learn to recognize and treat ear mites effectively